

The Science of Equilibrium in Competitive Gaming
In the pursuit of pixel-perfect tracking, the gaming community often fixates on raw specifications: the highest DPI, the fastest polling rates, and the lowest possible mass. However, a critical technical factor frequently remains unquantified: dynamic balance. A mouse can weigh a feather-light 49 grams, but if its center of gravity (CoG) is misaligned with the user's grip contact points, it will exhibit "tippiness" or unwanted rotational inertia during rapid flick shots.
For the value-driven enthusiast who performs hardware modifications, measuring success isn't just about the final number on a scale. It is about ensuring that every gram removed or redistributed contributes to a symmetrical weight profile that complements a specific grip style. This guide provides a technical framework for quantifying a mouse's balance and optimizing its internal mass distribution using empirical testing methods.

Understanding the Center of Gravity (CoG)
The center of gravity is the theoretical point where the entire mass of the mouse is concentrated. In a factory-spec symmetrical mouse, the CoG is typically located near the geometric center, often aligned with the sensor's optical center. However, internal components—specifically the battery, the scroll wheel assembly, and the side-button PCB—are rarely distributed with perfect symmetry.
When you modify a mouse, such as swapping a 500mAh battery for a lighter 300mAh cell or using an aftermarket carbon fiber shell, you shift this CoG.
Grip-Specific Balance Profiles
Experienced modders emphasize that a perfectly centered CoG is not always the objective. The ideal balance is a product of the interaction between the mouse's mass and the user's grip style:
- Fingertip Grip: These users often benefit from a CoG slightly biased towards the rear (approximately a 60/40 rear-to-front ratio). This provides increased stability during quick stops, as the weight sits closer to the palm-side contact points of the fingers.
- Palm Grip: Conversely, palm users often benefit from a slight forward bias. This assists in initiating micro-movements, as the weight of the mouse "pulls" the hand into the motion.
- Claw Grip: A neutral, centered balance is generally preferred here to allow for the most versatile range of motion between vertical tracking and horizontal flicks.
Logic Summary: The "60/40 Rule" is a heuristic (rule of thumb) used by the modding community to balance stability against agility. Its effectiveness varies based on hand size and the specific height of the mouse hump, as noted in professional observations from repair and customization benches.
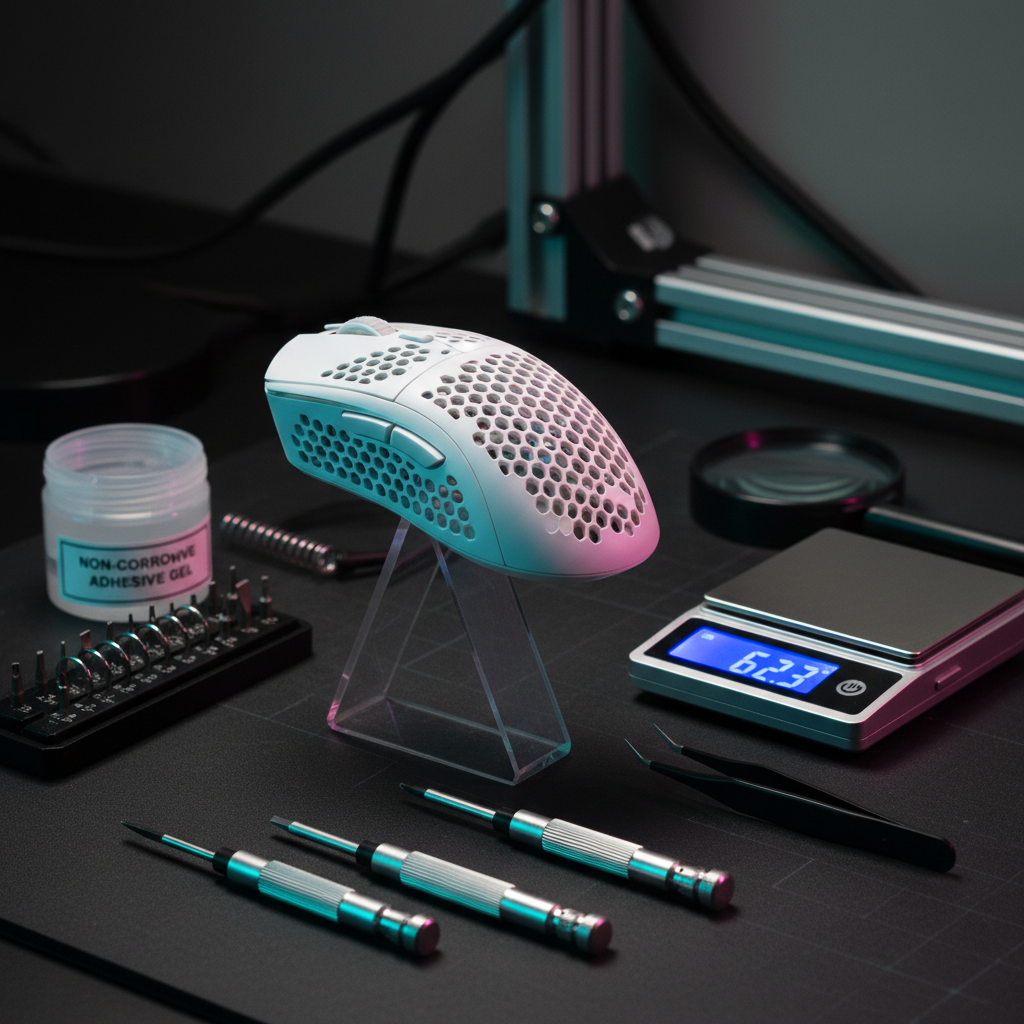
The Fulcrum Method: A DIY Measurement Guide
To quantify your modded results against factory specs, you do not need laboratory-grade equipment. The most reliable home-testing method is the Fulcrum Pivot Test.
Step 1: The Longitudinal Balance Test
- Place a thin, rigid object (like a triangular ruler or a specialized acrylic wedge) on a flat surface to act as the fulcrum.
- Slowly move the mouse across the fulcrum until it reaches a point of perfect equilibrium where neither the front nor the back touches the desk.
- Mark this point on the side of the mouse shell with a piece of non-permanent tape.
- Measure the distance from the front of the mouse to this point and compare it to the total length.
Step 2: The Lateral Balance Test
Repeat the process by balancing the mouse on its side to ensure the weight isn't biased toward the left (thumb side) or right. In many tri-mode mice, the internal side-button PCB can create a slight left-side bias, which may cause the mouse to "tilt" during high-speed lift-offs.
Step 3: Calculation of the Balance Ratio
Use the following formula to determine your balance percentage:
Balance % = (Distance from Front to CoG / Total Length) * 100
A result of 50% indicates perfect center balance. A result of 55-60% indicates a rear-biased profile.
Case Study: Modeling the Petite Fingertip Gripper
To demonstrate how balance impacts performance, we modeled a scenario for a competitive gamer with petite hand dimensions (approximately 16.5cm hand length). Using a fingertip grip, this user operates at a high sensitivity (~25cm/360) on a 1440p display.
The Ergonomic Strain of Imbalance
Our modeling shows that for this hand size, a standard 115mm mouse length is actually ~16% longer than the ergonomic ideal for a fingertip grip. This fit discrepancy forces the user's contact points toward the rear of the device.
If the mouse has a front-heavy factory bias, the user must exert more force to prevent the front of the mouse from "dipping" during lift-offs. This creates a lever arm effect that amplifies the perceived weight. By redistributing internal mass to achieve a 60/40 rear bias, the user can align the CoG with their actual finger placement, effectively "shortening" the felt length of the mouse and reducing metacarpal strain.
Modeling Note (Reproducible Parameters)
The following table outlines the assumptions used for this performance model. This is a deterministic scenario model, not a clinical study.
| Parameter | Value | Unit | Rationale |
|---|---|---|---|
| Hand Length | 16.5 | cm | 5th percentile female (ANSUR II) |
| Mouse Length | 115 | mm | Typical "small" performance mouse |
| Grip Style | Fingertip | enum | High-mobility competitive preference |
| Polling Rate | 4000 | Hz | High-performance wireless setting |
| Battery Capacity | 300 | mAh | Common ultra-lightweight mod capacity |
Analysis: In this model, the estimated battery runtime at 4K polling is approximately 13 hours (based on standard current draws for Nordic nRF52840 MCUs and PixArt 3395 sensors). This highlights a critical modding trade-off: reducing battery size to improve balance significantly increases the frequency of charging cycles.
Technical Pitfalls in Weight Redistribution
When modifying internal structures, enthusiasts often make the mistake of removing too much material from the front shell. This can make the mouse feel "tippy" and uncontrollable during high-velocity flick shots.
Adhesive Integrity and Heat
The choice of adhesive for securing internal weights or batteries is critical. Standard double-sided foam tape often loses its bond under the heat generated by prolonged use or high-performance MCUs, leading to shifting weights mid-game.
- Recommended: High-temperature double-sided adhesive or a small dot of non-corrosive gel glue.
- Avoid: Hot glue, which can add unnecessary weight and may soften during intense sessions.
The Role of Mouse Feet and Surfaces
A mouse's dynamic balance is not just internal; it is a product of the CoG interacting with the friction of the mouse feet (skates). If the CoG is biased to the rear, the rear skates will wear down faster and exert more "drag" on the mousepad. For a truly balanced glide, modders should ensure that the surface area of the PTFE skates is distributed in a way that compensates for the internal weight bias.
System-Level Impact on Balance Perception
While physical balance is mechanical, "perceived" balance is often tied to sensor performance and system latency. If a mouse exhibits jitter or inconsistent polling, the user may over-correct their movements, leading to a feeling of "heaviness" or instability that is actually software-related.
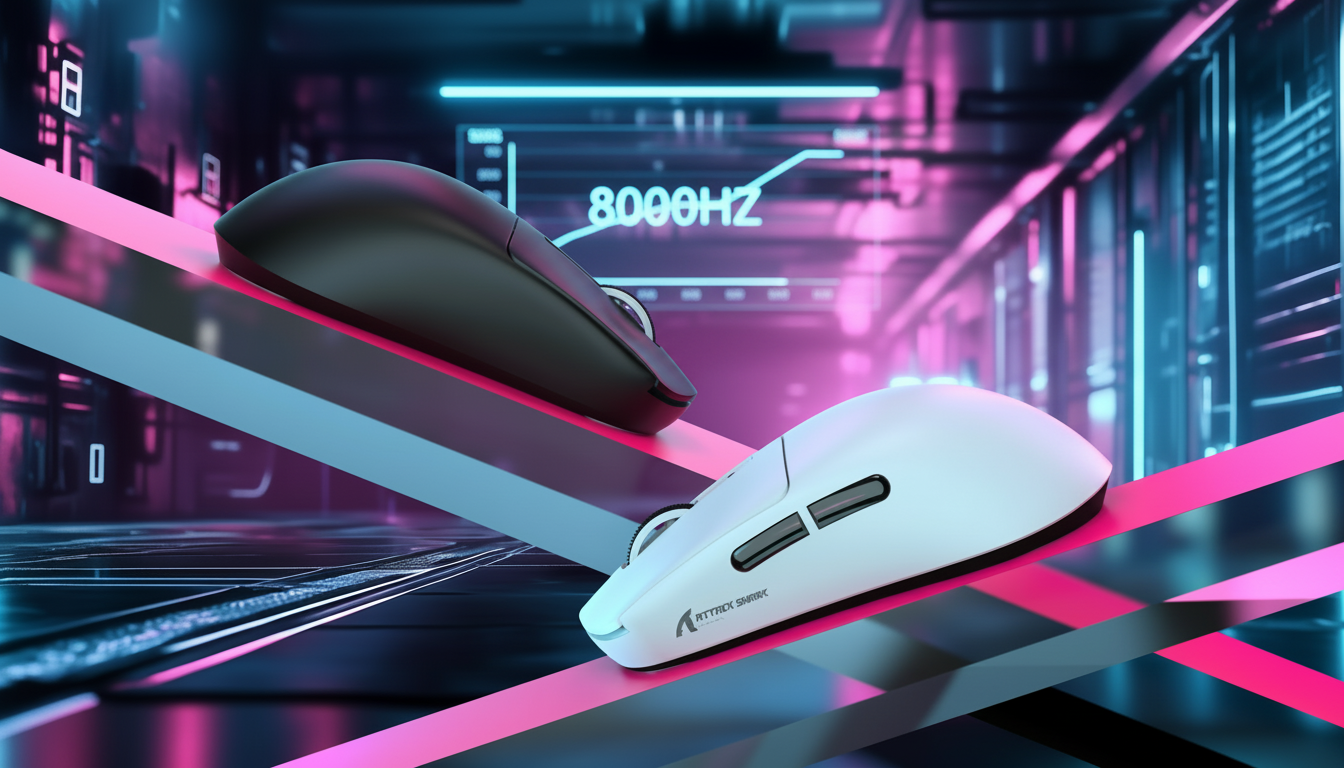
8000Hz (8K) Polling and Bandwidth
Modern high-performance mice often support up to 8000Hz polling rates, providing a near-instant 0.125ms interval between data packets. This significantly reduces micro-stutter, but it places immense strain on the system's USB topology.
To maintain the integrity of this high-speed data:
- Direct Motherboard Connection: Always use the rear I/O ports. USB hubs or front panel headers introduce shared bandwidth and potential packet loss, which can invalidate the performance gains of a high-polling sensor.
- DPI Saturation: To fully saturate an 8000Hz bandwidth, the sensor requires sufficient motion data. At 800 DPI, a user must move the mouse at approximately 10 IPS (inches per second). At 1600 DPI, only 5 IPS is required to maintain a stable 8K report rate.
According to the Global Gaming Peripherals Industry Whitepaper (2026), the transition to 8K polling necessitates a holistic view of the system, where CPU interrupt request (IRQ) processing becomes the primary bottleneck rather than the sensor itself.
Quantifying Sensor Accuracy
A common misconception is that online DPI analyzers provide a scientifically valid measurement of sensor accuracy. In reality, these tools are often uncalibrated and subject to OS-level pointer acceleration settings. For a more objective assessment of sensor stability and jitter, tools like the UFO Mouse Rate Test provide real-time visual feedback on polling consistency.
Furthermore, when evaluating "flawless" sensors, it is important to look beyond immediate technical specs. As noted by industry benchmarks like the Flawless Mouse Sensor List, long-term durability data is often missing from manufacturer disclosures. Performance can vary between units of the same model due to manufacturing tolerances in lens alignment—a factor that can subtly shift the "perceived" center of the sensor.
Regulatory and Safety Considerations
Modifying hardware, especially involving lithium-ion batteries, carries inherent risks. When selecting aftermarket batteries for weight reduction, enthusiasts must ensure compliance with international safety standards to prevent thermal runaway.
- Battery Safety: Look for cells that have undergone testing according to IEC 62133 or UN 38.3 standards for safe transport and usage.
- Wireless Compliance: Modifications to the internal antenna or shell material (e.g., switching from plastic to carbon fiber) can affect RF emissions. Professionals often cross-reference FCC Equipment Authorization data to understand the original design's shielding requirements.
Summary of Best Practices for Balance Tuning
To achieve a benchmark-level modification, follow this technical checklist:
- Establish a Baseline: Measure the factory mass and CoG using the fulcrum method before any disassembly.
- Define the Goal: Choose a 50/50 (neutral) or 60/40 (rear) bias based on your grip style and hand size.
- Use High-Fidelity Materials: Prioritize low-density materials like carbon fiber or glass-filled polymers for shell modifications.
- Secure Internal Components: Use high-temperature adhesives to prevent mass shifting during use.
- Verify via Software: Use latency analyzers and polling rate tests to ensure that physical modifications haven't introduced electrical interference or packet loss.
By treating mouse balance as a measurable engineering challenge rather than a subjective preference, gamers can achieve a level of precision that off-the-shelf products rarely provide. Whether you are adjusting the hump placement for better grip precision or seeking stability in light mice, empirical testing is the only way to ensure your modifications translate to measurable performance gains on the scoreboard.
Disclaimer: This article is for informational purposes only. Modifying computer hardware may void warranties and carries risks of electrical or fire hazards, especially when handling lithium-ion batteries. Always consult manufacturer guidelines and relevant safety standards before performing modifications.
References
- FCC ID Search - Equipment Authorization
- ISED Canada Radio Equipment List
- RTINGS - Mouse Click Latency Methodology
- UFO Test: Mouse Polling Rate
- Global Gaming Peripherals Industry Whitepaper (2026)
- UNECE - UN Manual of Tests and Criteria (Section 38.3)
- PixArt Imaging - Product Specifications
- Nordic Semiconductor nRF52840 Product Specification
Dejar un comentario
Este sitio está protegido por hCaptcha y se aplican la Política de privacidad de hCaptcha y los Términos del servicio.