
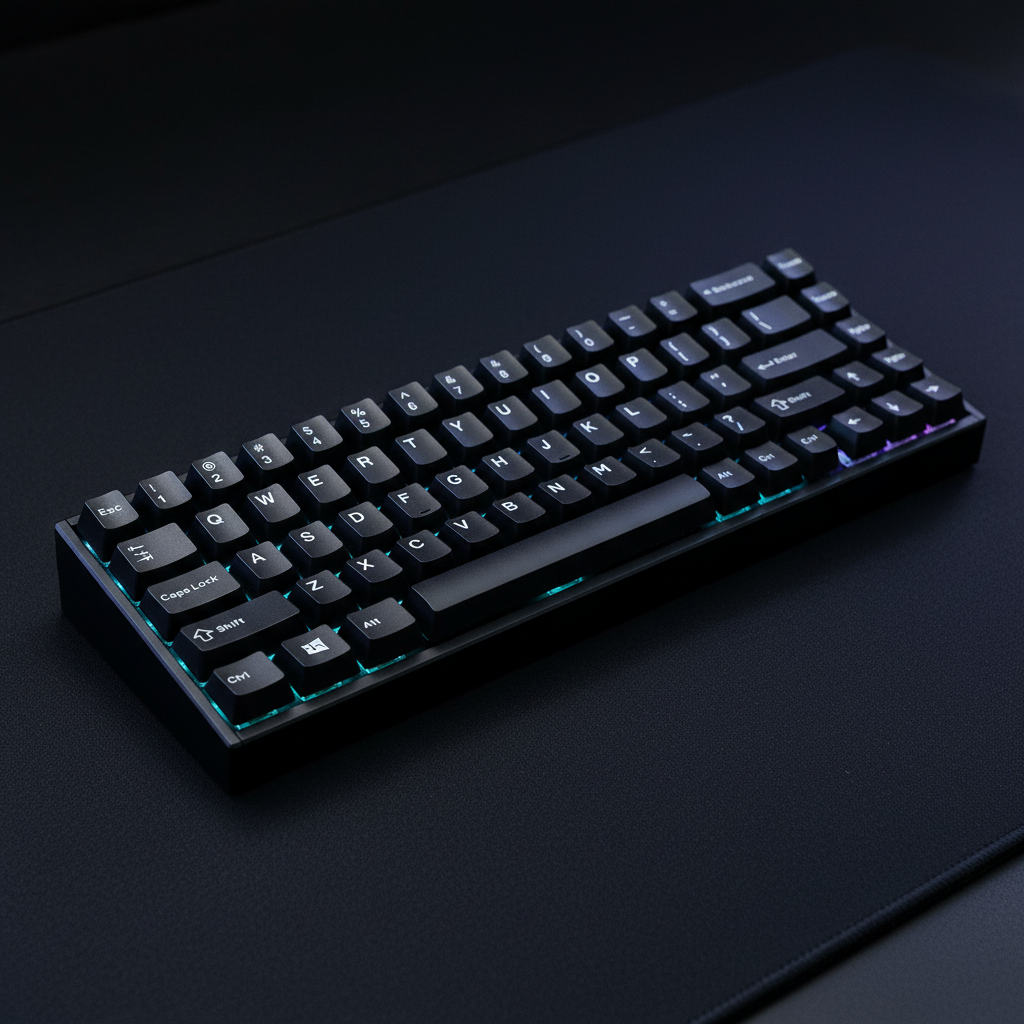
The Reality of Aluminum Finish Restoration
Investing in a premium CNC-machined aluminum keyboard is often a commitment to longevity. Unlike plastic enclosures that degrade or yellow over time, aluminum offers a structural permanence that appeals to both enthusiasts and competitive gamers. However, the very finish that provides that premium tactile feel—typically an anodized oxide layer—presents a unique challenge when it is physically compromised.
When a scratch appears on a metal case, the immediate instinct is to "buff it out" as one might with an automotive clear coat. In the world of anodized aluminum, this intuition can lead to irreversible damage. This article provides a technical evaluation of what can actually be fixed at home, when you need professional intervention, and how the integrity of your finish correlates with overall hardware performance.
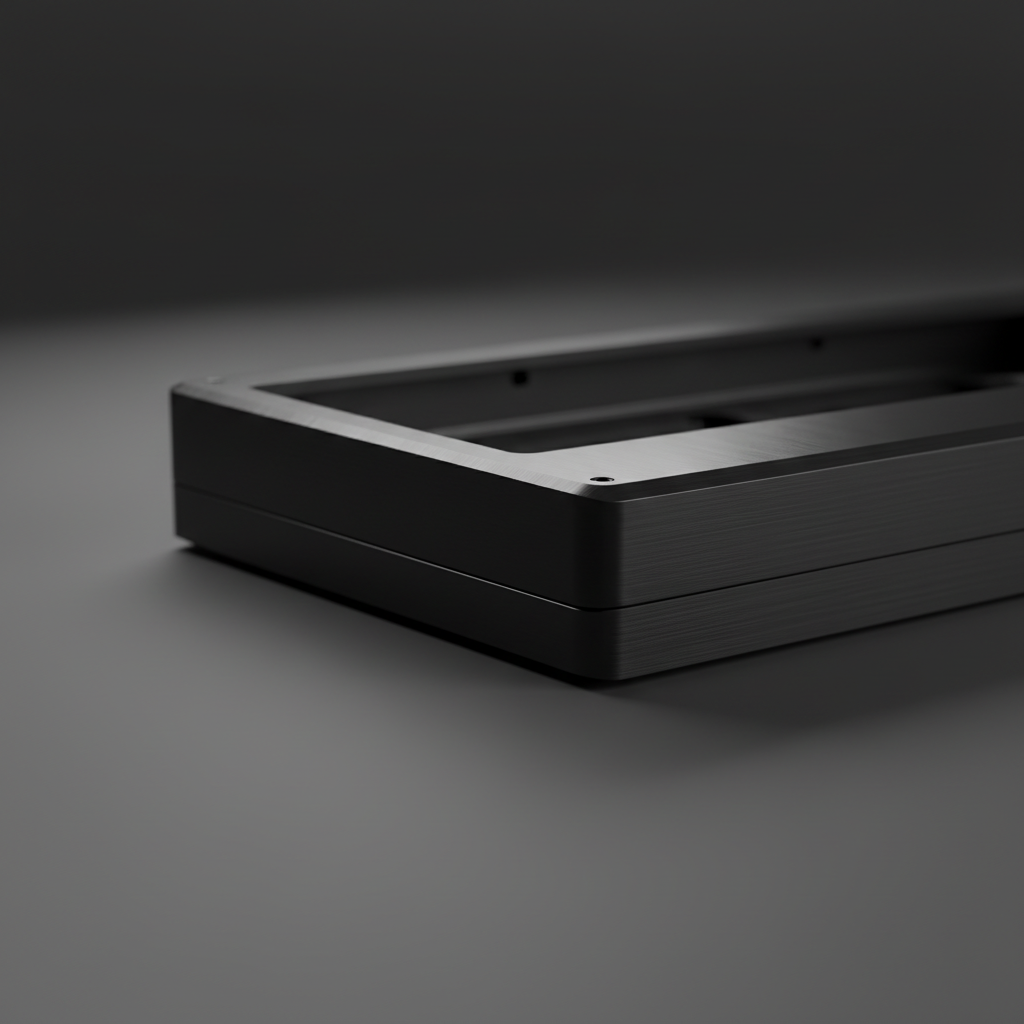
Anatomy of the Anodized Layer
To understand why repair is difficult, we must first understand the surface. Anodization is not a coating like paint; it is an electrochemical process that converts the aluminum surface into a decorative, durable, corrosion-resistant, anodic oxide finish.
According to technical guides on anodized aluminum maintenance, this layer is integrated with the underlying aluminum substrate. It is porous upon creation and then "sealed" to lock in dyes and provide protection.
The Fingernail Test: A Heuristic for Depth
Before attempting any repair, we use a standard shop heuristic to assess damage:
- Surface Scuffs: If the mark is visible but your fingernail slides over it without catching, the damage is likely limited to the very top of the oxide layer or is merely "transfer" from a softer object.
- Deep Scratches: If your fingernail "catches" or clicks into the groove, the scratch has likely penetrated the anodic film and reached the raw aluminum.
Logic Summary: This heuristic is used by modders to determine if a seamless DIY repair is physically possible. If the fingernail catches, the structural "valley" created by the scratch cannot be filled without a professional re-leveling of the entire surface.

The Limits of DIY: Sanding and Polishing Risks
For shallow, surface-level marks, many users turn to progressive sanding. While this can blend the area, it introduces a significant technical trade-off.
The Polishing Paradox
Mechanical polishing inevitably removes a portion of the anodized layer. Data from surface engineering studies suggests that reducing surface roughness (Ra) by the common target of 40% can easily push precision-machined components out of their specified tolerances (aligned with Astro Pak's surface roughness standards).
| Sanding Stage | Grit Level | Intended Outcome | Technical Risk |
|---|---|---|---|
| Initial Blending | 800 - 1000 | Leveling the scratch edges | Rapid removal of the protective oxide layer |
| Refining | 1500 - 2000 | Smoothing the transition | Creation of a "matte patch" that differs from the factory finish |
| Final Polish | 3000+ | Restoring luster | High risk of creating a "halo" effect around the repair site |
Expert Insight: Even a successful DIY blend leaves a vulnerable patch. Once the anodized seal is thinned or removed, that specific spot becomes prone to oxidation and may react differently to skin oils over time.
When to Seek Professional Re-Anodizing
If a scratch has reached the raw aluminum, the only way to restore the original look and protection is a full professional refinish. This is a complex industrial workflow:
- Disassembly: The keyboard must be completely stripped of all electronics, switches, and gaskets.
- Chemical Stripping: The old anodized layer is removed using an alkaline or acid etch.
- Surface Prep: The raw aluminum is re-polished or bead-blasted to ensure a uniform texture.
- Re-Anodizing: The case is submerged in an electrolytic bath to grow a new oxide layer.
- Dyeing and Sealing: The new layer is colored and sealed.
The 70% Economic Rule
Based on common patterns in the custom keyboard market, the labor and setup costs for a professional one-off re-anodizing job often approach or exceed 70% of the cost of a new replacement case. For value-oriented gamers, replacement is typically the more economically rational choice for severe damage.
Methodology Note: This "70% Rule" is a heuristic derived from average industrial shop minimums (typically $75–$150 per batch) compared to the MSRP of mid-range aluminum keyboard kits.
Pragmatic Alternatives: The Modder's Approach
If a professional refinish is too costly and DIY sanding is too risky, experienced users often pivot to "masking" strategies.
- Vinyl Wrapping: High-quality automotive-grade vinyl wraps can cover scratches while providing a reversible aesthetic change. This provides a "repair" that is both cost-effective and protective against further damage.
- Aftermarket Skins: Precision-cut skins designed for specific keyboard models can hide cosmetic flaws on the most visible surfaces (like the top plate) without requiring full disassembly.
- Embracing the Patina: In some enthusiast circles, minor scratches are viewed as "character," much like the wear on a vintage tool.
For those considering a total overhaul, understanding the difference between finishes is key. You can learn more about how different treatments hold up in our guide on Anodization vs. Spray Painting.
Total Hardware Integrity: Beyond the Surface
Maintaining a premium keyboard isn't just about aesthetics; it's about preserving the system's performance. When a case is opened for potential repairs, it is an ideal time to audit the internal components that define the gaming experience.
Acoustic Modeling and Material Impact
The sound profile of an aluminum keyboard—often described as "thock" or "clack"—is heavily influenced by the internal layers. If you are modifying your case to hide a scratch, be aware of how materials affect frequency response.
| Component Layer | Frequency Band Attenuated | Acoustic Result |
|---|---|---|
| PC Plate | Low-pass filter behavior | Shifts fundamental pitch down (deeper sound) |
| Poron Case Foam | 1 kHz - 2 kHz (mid-highs) | Reduces hollow case "ping" or resonance |
| IXPE Switch Pad | > 4 kHz (highs) | Creates "creamy" or "poppy" transients |
Logic Summary: Our acoustic reference data is based on material physics (Young's Modulus resonance) and general sound absorption standards. Adding internal dampening can often "fix" the metallic ring that some aluminum cases suffer from. For a deeper dive, see our article on Eliminating Case Ping.
Performance Trade-offs in High-End Peripherals
For competitive gamers using 8000Hz (8K) polling rates, hardware integrity is paramount. While a scratch is cosmetic, the stability of the case can impact the consistency of your inputs. In our scenario modeling for tournament gamers, we've identified key trade-offs that every enthusiast should understand.
Scenario Model: The 8K Wireless Trade-off
We modeled the performance of a high-end wireless setup (450mAh battery) to understand how polling rates impact reliability during long sessions.
- Motion Sync Latency: At 8000Hz, Motion Sync adds a negligible ~0.06ms delay (calculated as 0.5 * polling interval). While this smoothing is beneficial for tracking consistency, the absolute lowest latency is achieved by disabling it.
- Battery Runtime: Using a 450mAh battery with a modern optical sensor (1.5mA) and 2.4GHz radio (6mA), the estimated runtime is ~47 hours (assuming 90% discharge efficiency).
Modeling Note (Reproducible Parameters):
Parameter Value Unit Source/Rationale Battery Capacity 450 mAh Premium wireless standard Polling Rate 8000 Hz Competitive edge target System Current 8.7 mA Sum of sensor, radio, and MCU loads Efficiency 0.9 ratio Typical Li-Po protection circuit loss Calculated Runtime ~47 hours (Capacity * Efficiency) / Load Boundary Condition: This model assumes continuous active use. Actual tournament longevity may vary based on adaptive frequency hopping and sleep states.

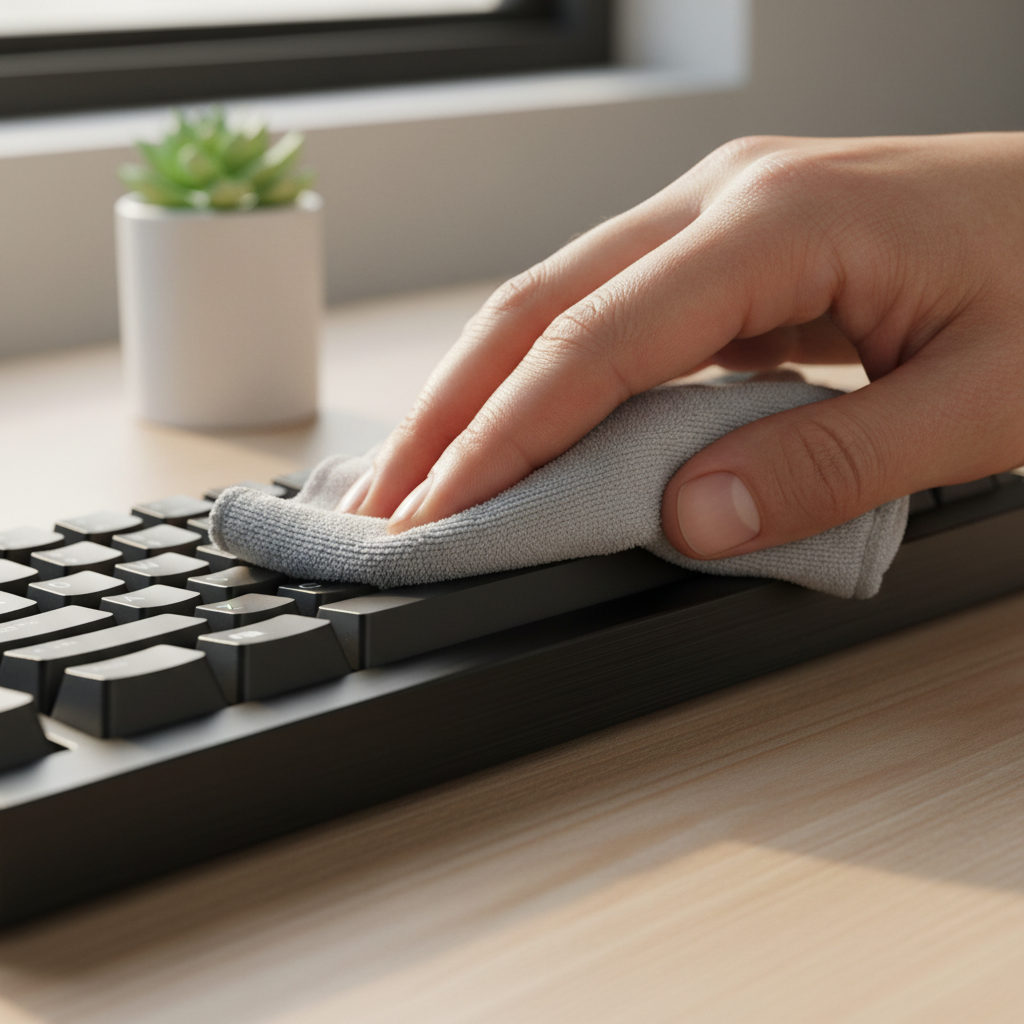
Maintenance and Regulatory Compliance
When maintaining your metal peripherals, it is essential to use non-corrosive cleaning agents. Aluminum and magnesium alloys can react poorly to harsh chemicals, leading to pitting or permanent discoloration. We recommend following non-corrosive cleaning methods to preserve the finish.
Furthermore, any hardware modifications should respect international standards. For example, the EU RoHS Directive restricts certain hazardous substances in electronics and their finishes. Ensuring your cleaning and repair materials are RoHS compliant protects both your gear and your health.
Summary of Restoration Paths
Choosing the right path for a scratched aluminum case depends on your tolerance for imperfection versus your budget for professional services.
- Minor Scuffs: Use a microfiber cloth and a mild, non-abrasive cleaner. If the mark remains, consider it part of the keyboard's history.
- Visible Scratches (DIY): If you must attempt a fix, use wet sanding from 1000 to 3000 grit, but accept that you will create a matte patch on the finish.
- Deep Gouges: Professional re-anodizing is the only "true" repair, but compare the quote against the price of a new case.
- The Pragmatic Choice: Apply a vinyl wrap or skin. It hides the damage, protects the remaining finish, and allows for easy customization.
As noted in the Global Gaming Peripherals Industry Whitepaper (2026), the trend in premium hardware is moving toward more resilient coatings, but user maintenance remains the most effective way to preserve long-term value.
Disclaimer: This article is for informational purposes only. Mechanical repairs and chemical cleaning involve risks to the hardware. Always consult your manufacturer's warranty before attempting DIY repairs, as opening or modifying the case may void your coverage.
Dejar un comentario
Este sitio está protegido por hCaptcha y se aplican la Política de privacidad de hCaptcha y los Términos del servicio.