
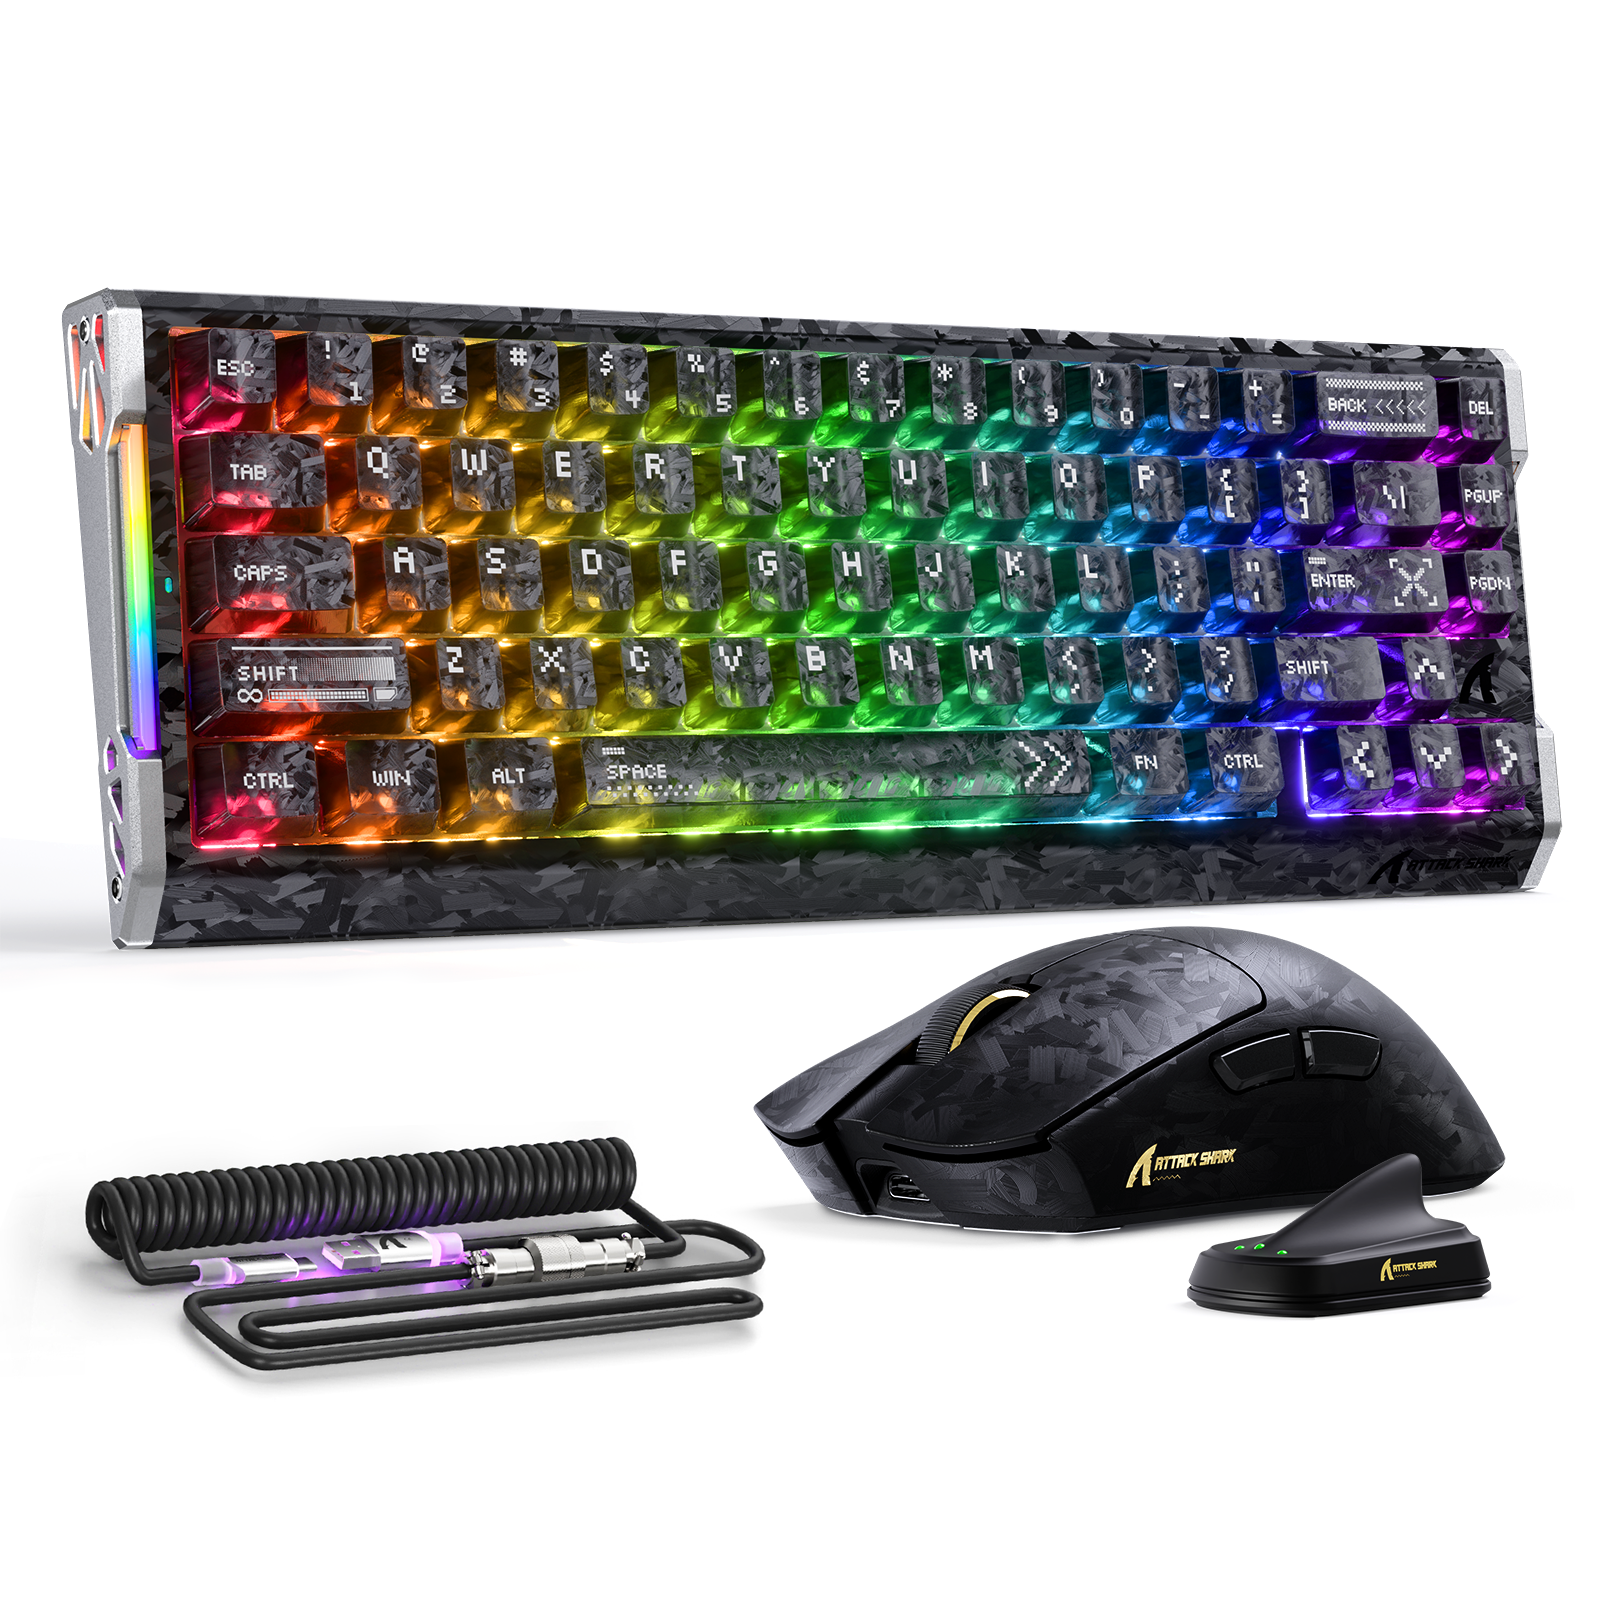
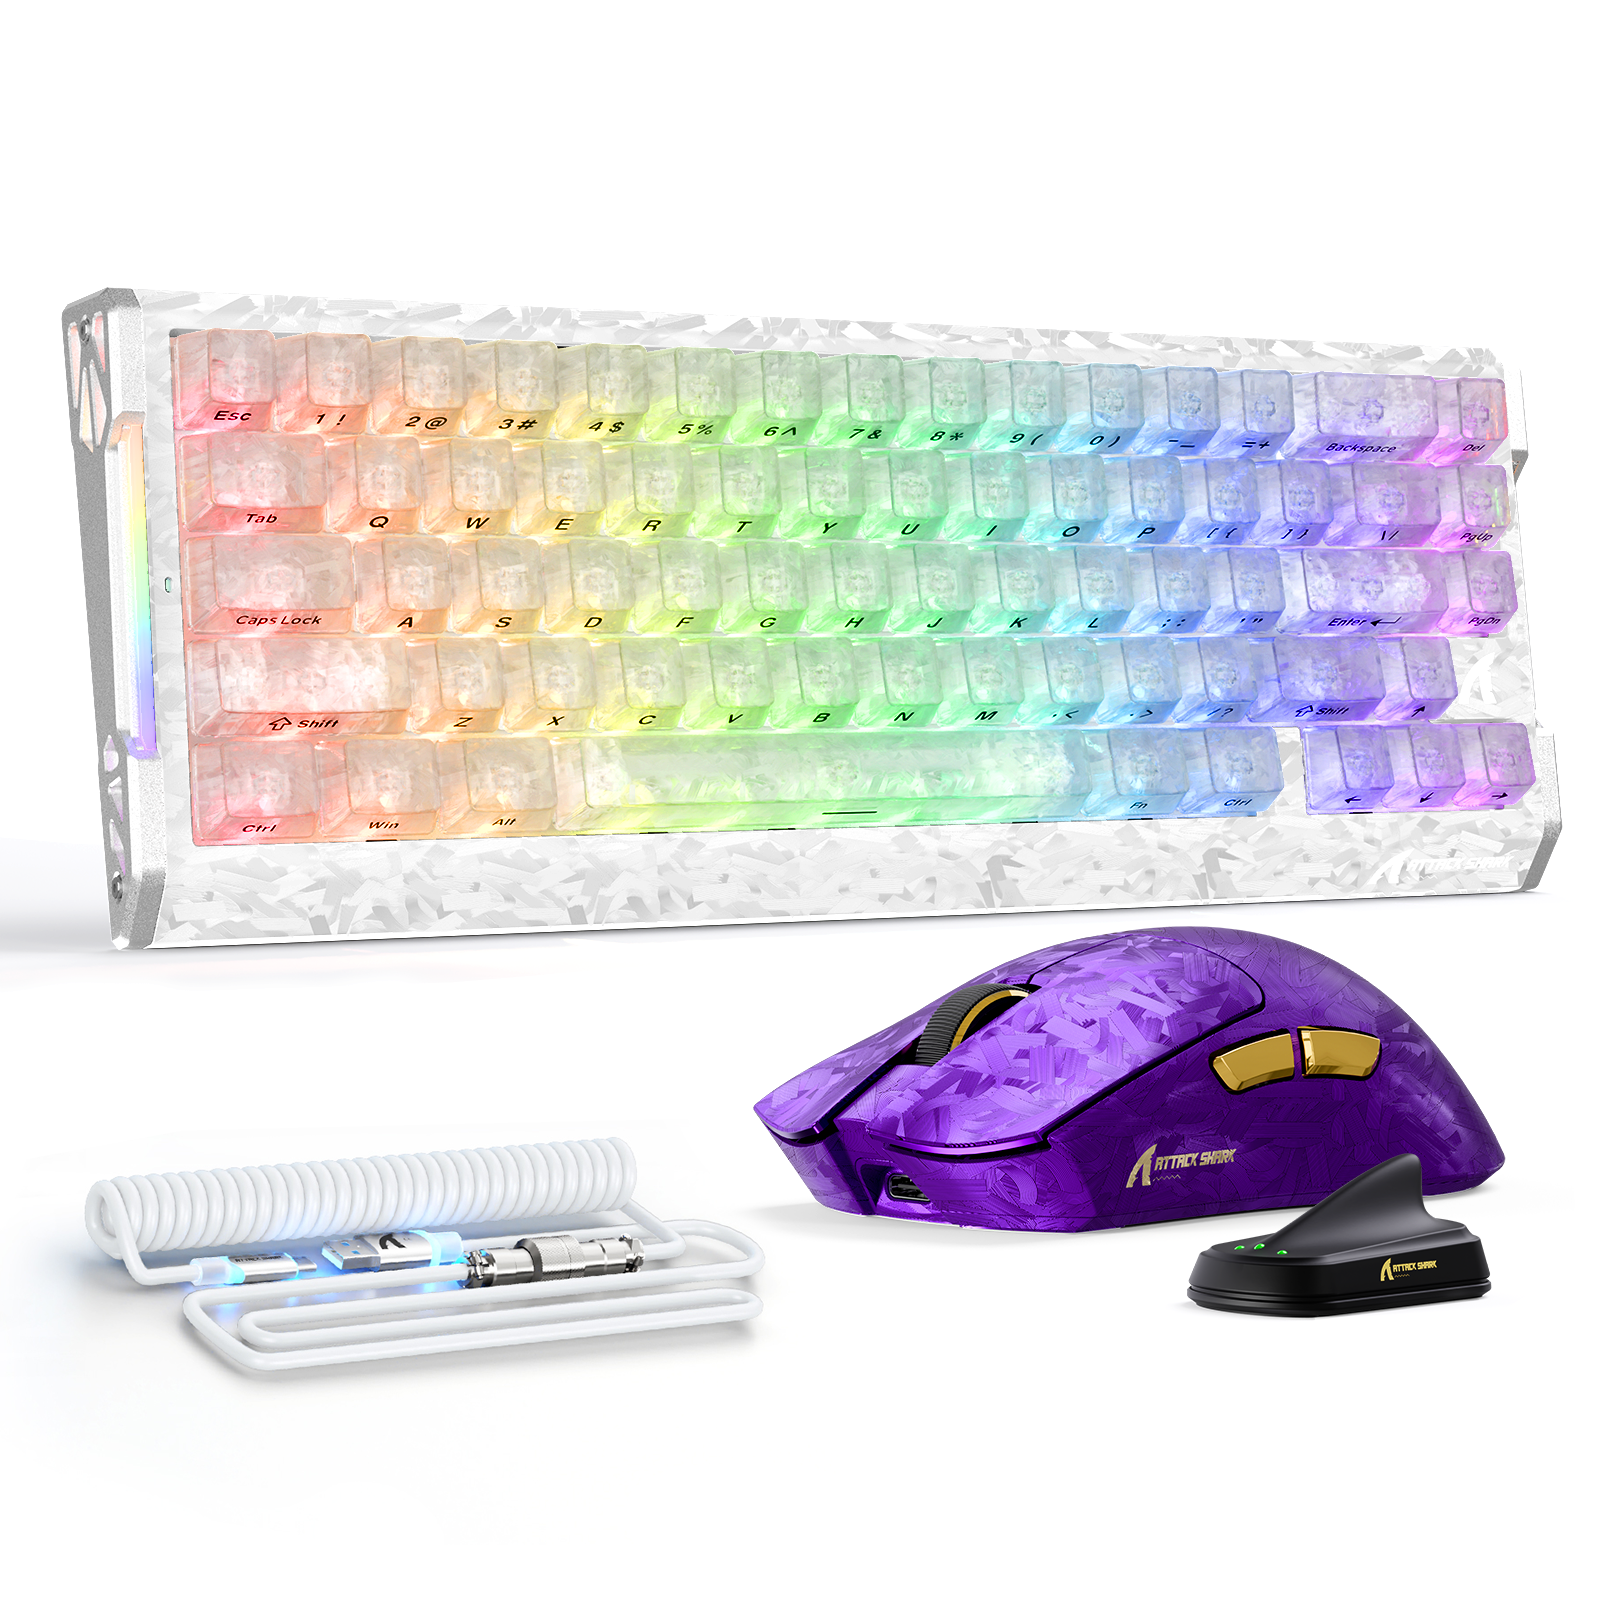
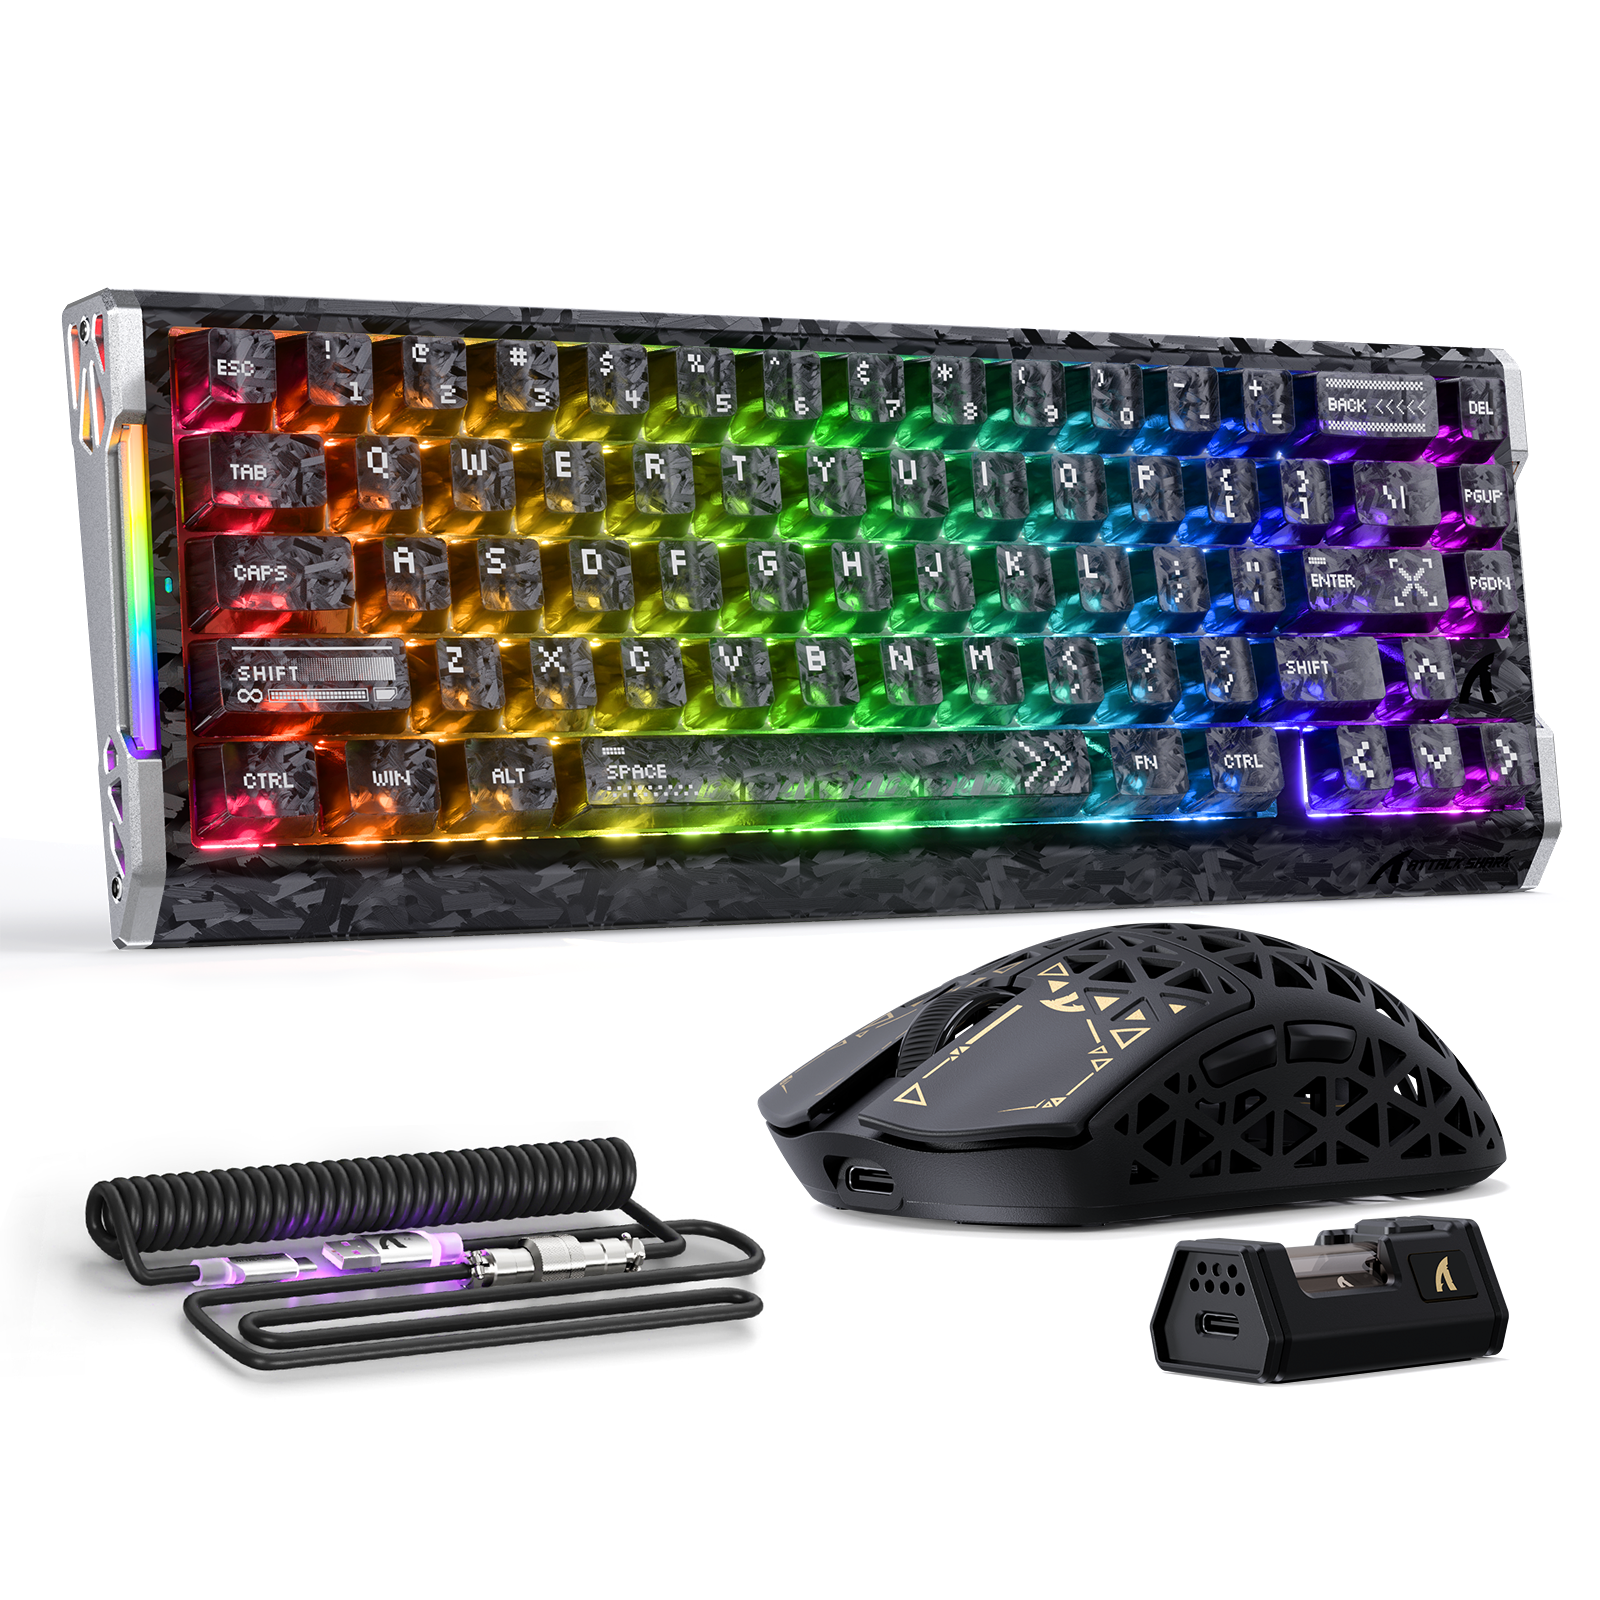
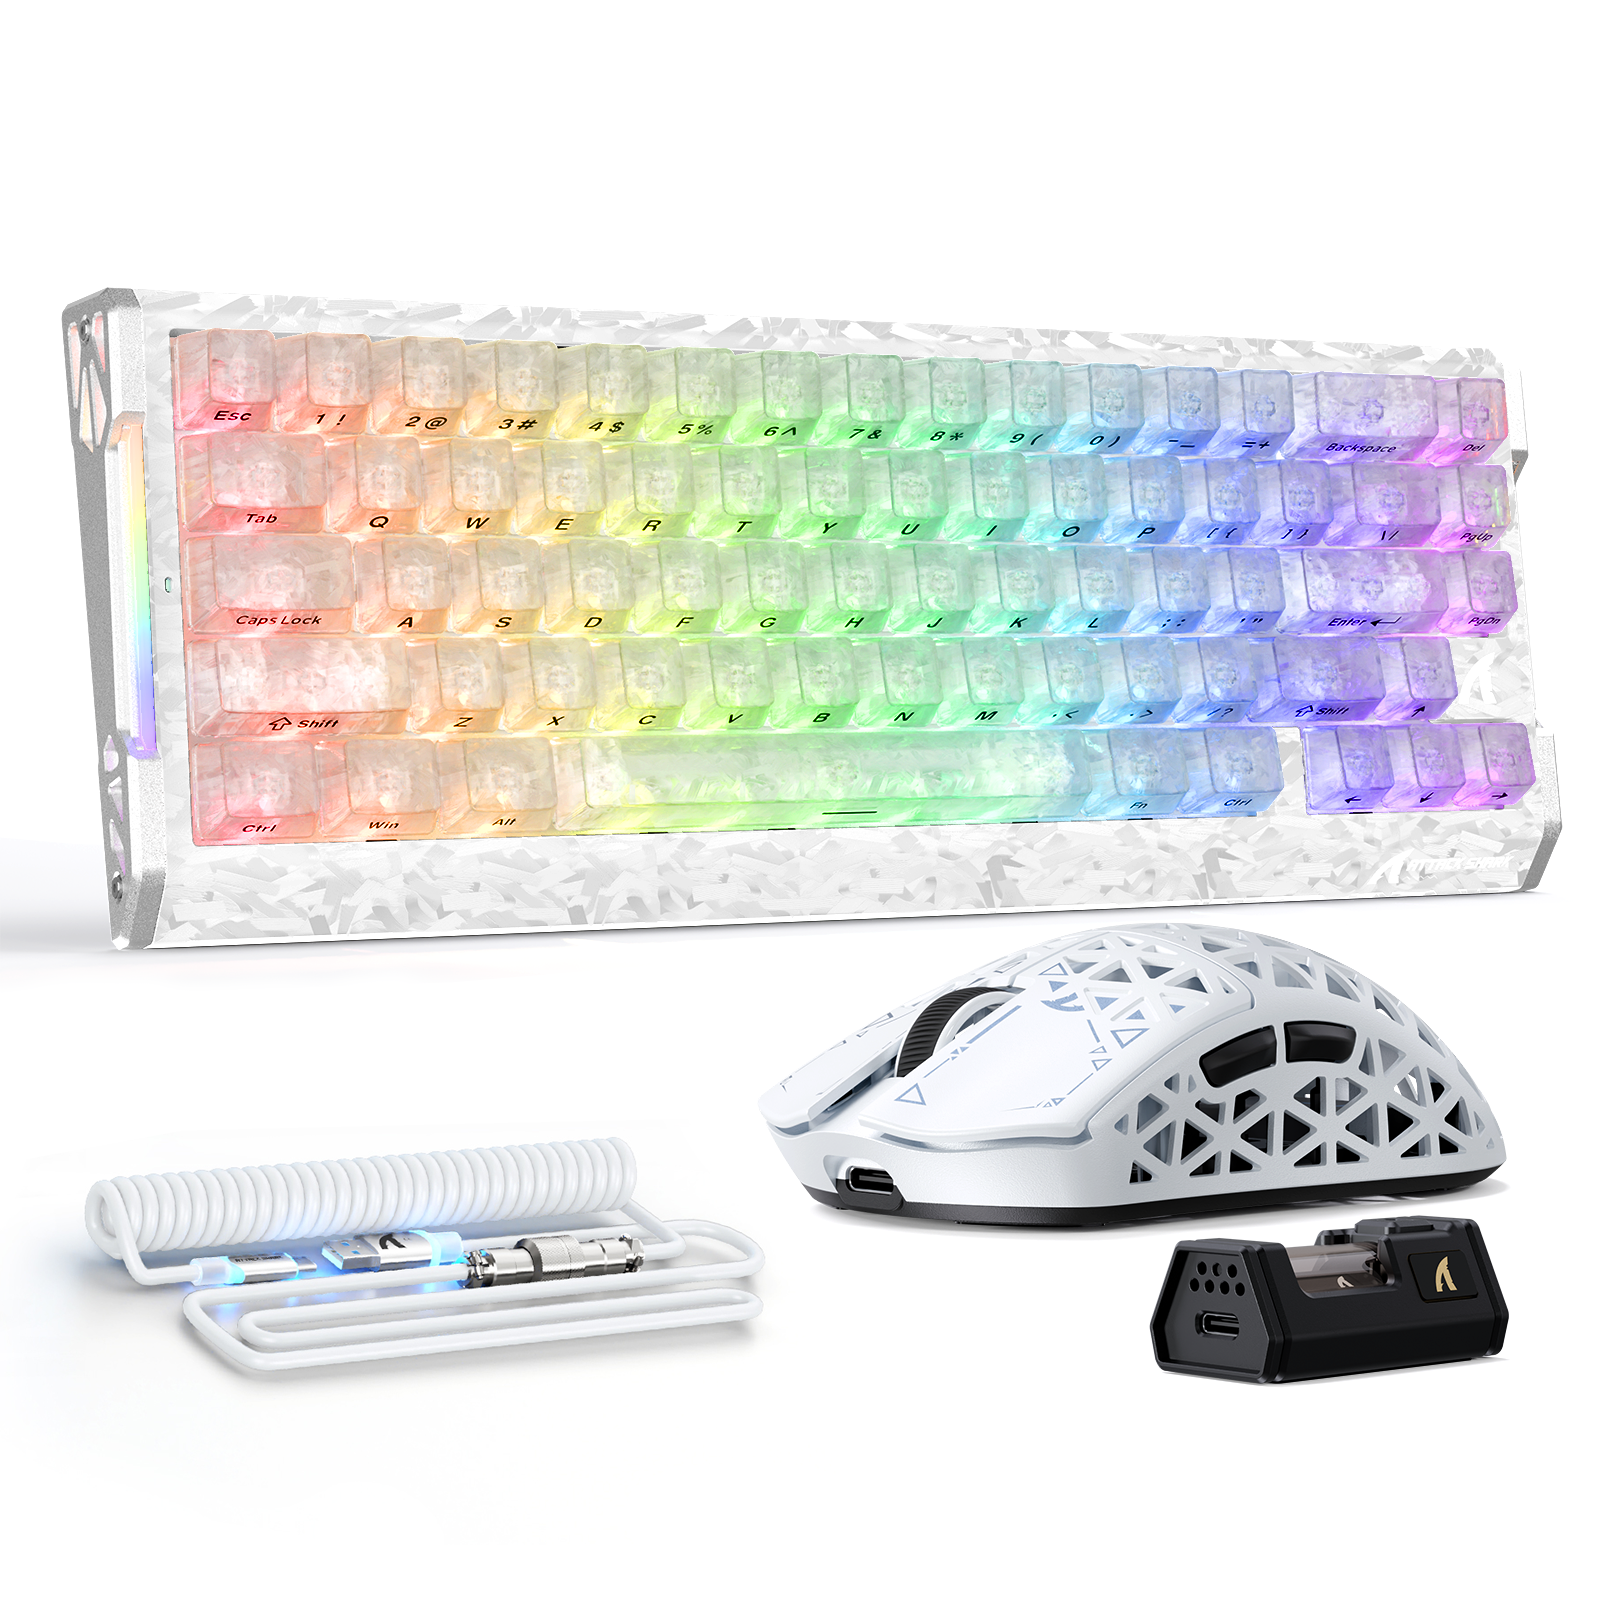
Attack Shark Mouse Polling Test
How To Use
1. Start Testing
Click the START button to begin. This will activate the full-screen tracking mode. The button will become disabled while the test is running.
2. Move Your Mouse
Move your mouse continuously in circles or side-to-side. The faster and more consistent your movement, the more accurate the polling rate reading will be.
3. Analyze Graph
The blue line represents your real-time polling rate (Hz). A flat, stable line indicates a consistent sensor performance. Drops indicate instability.
4. Scale & Controls
Use the dropdown to set the Max Hz (e.g., 1000Hz or 4000Hz). Use PAUSE to freeze the data or RESET to clear all history.
FAQ & Knowledge
Featured collection
Blog posts

ATTACK SHARK 2nd Anniversary Event: Up to 60% Off & Giveaways
Gamers fed up with jittery mice and laggy input can fix dpi and polling rate issues with ATTACK SHARK anniversary deals up to 60% off. Claim bundles now.

Switching from Console to PC: The Essential Peripheral Checklist
Switching from console? Mouse shape, keyboard layout, cloth pad, and headset matter more than specs. Build a setup that feels natural and consistent.

Budget vs. High-End: Where Should You Actually Spend Your Gaming Money?
Spend on your mouse and mouse pad first. Wireless mice, hot-swap keyboards, and stereo headsets under $80 beat pricey "gaming" gimmicks every time.